
Introduction
Understanding the new manual editing options is essential to improving the system’s flexibility and efficiency. These options let you complete projects using the system’s tools when no specific `.pro` file or parameter configuration addresses a particular case. Used correctly, they change the way the system is used, combining standard products with specific manual edits and avoiding custom development for individual cases. This approach produces a final design that matches the customer’s requirements as closely as possible. The main features of this option are described below.
Entering Manual Editing
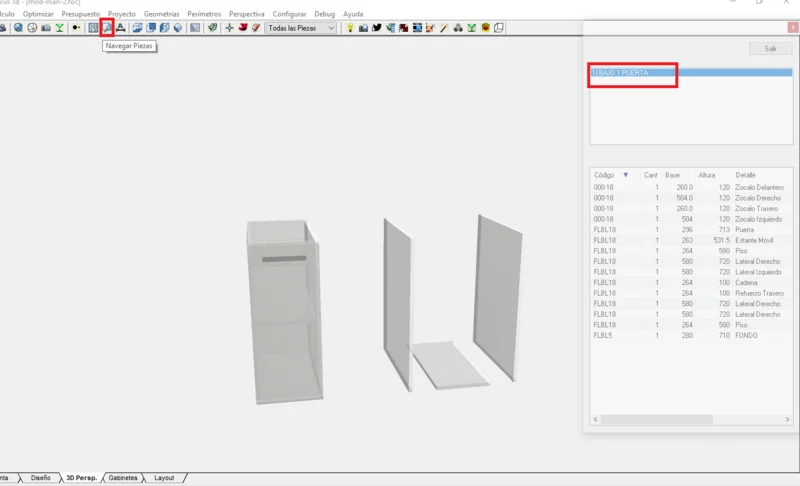
First, use the Browse Parts option to activate manual editing mode.
Activating Manual Editing Mode
1. Browse Parts:
- Select Browse Parts to activate the mode.
- Parts appear in a side panel.
- You can browse parts and cabinets.
- Only the selected cabinet appears in the scene.
- The cabinet space is based on the cabinet’s origin and automatically aligns its orientation, regardless of its rotation or position in the plan.
2. Exiting Edit Mode:
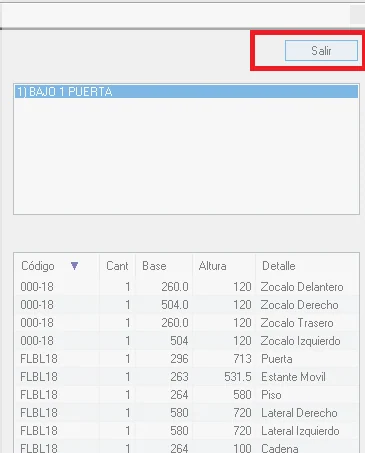
- Always leave edit mode using the exit button to update all changes made.
Editing Parts
Converting and Editing Parts
1. Converting to Manual:
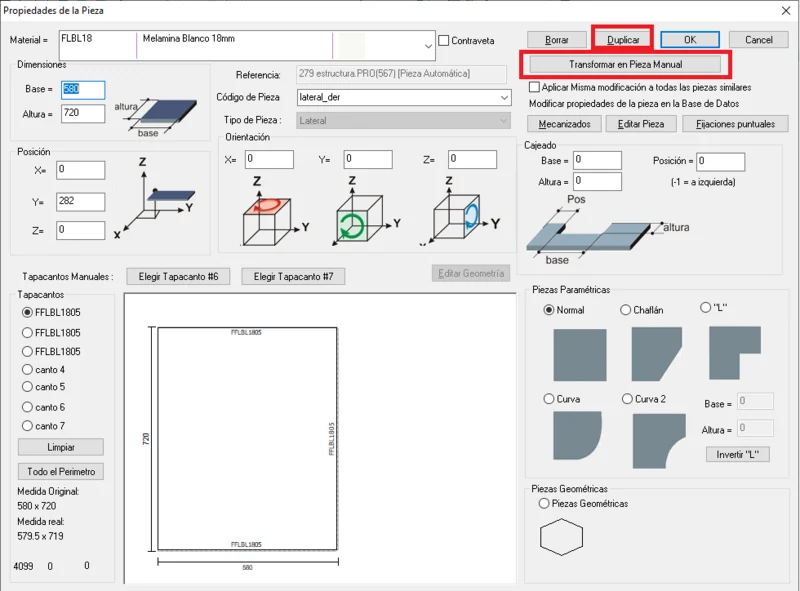
- Select an automatic part to convert it to manual.
- You can duplicate it or edit any data.
Part Classification
- Automatic Parts:
- Generated from the `.pro` file.
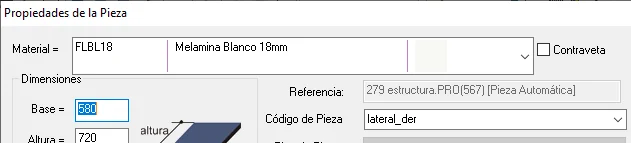
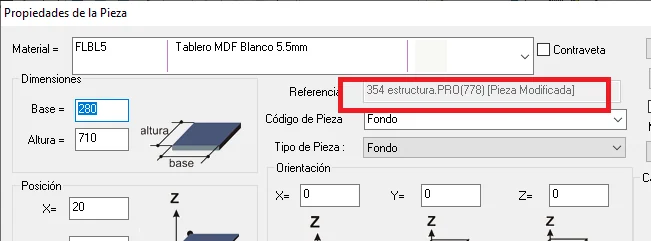
- Identified by a specific ID in the properties window reference, indicating the `.pro` file and corresponding line.
- Modified Parts:
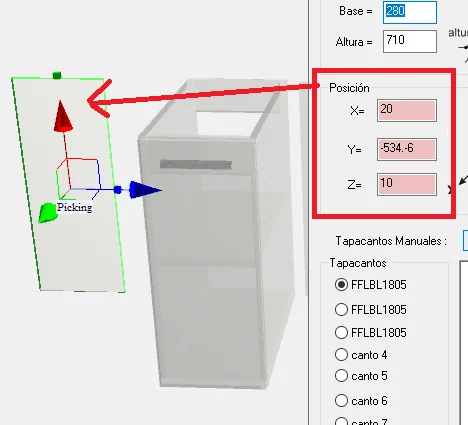
- Automatic parts that have been edited manually.
- Must retain a correct reference for synchronisation.
- Example: when a back panel is duplicated, the modified part is synchronised with the automatic part generated by the `.pro` file.
- Manual or User Parts:
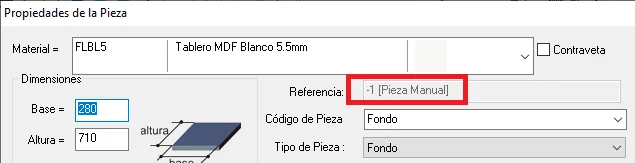
- New or duplicated parts with no connection to an automatic part in the `.pro` file.
- Identified by ID = -1.
- Deleted Parts:
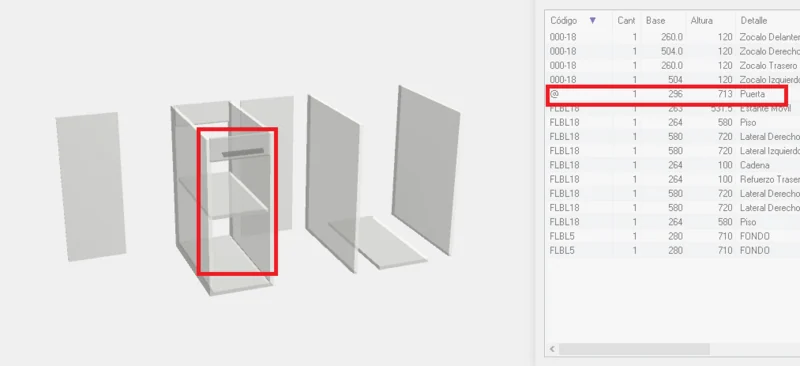
- Deleted parts retained by the system for future `.pro` recalculations.
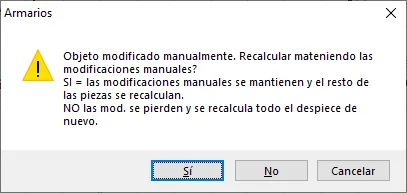
Recalculating the Cabinet
- Manual edits are preserved when recalculating the cabinet.
- Synchronisation depends on the `.pro` file calculating the same parts as before.
3D Editing
Using the 3D View
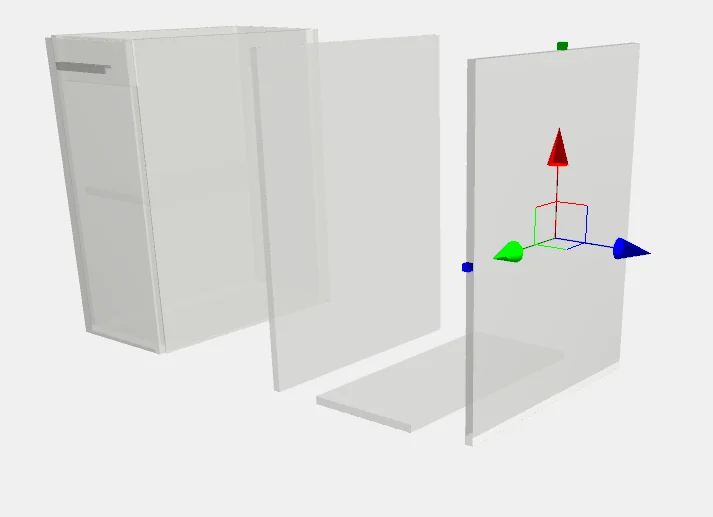
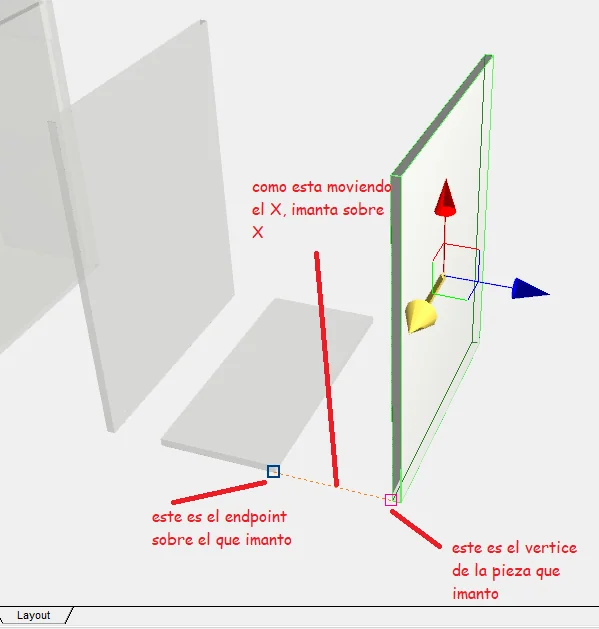
1. Moving and Resizing Parts:
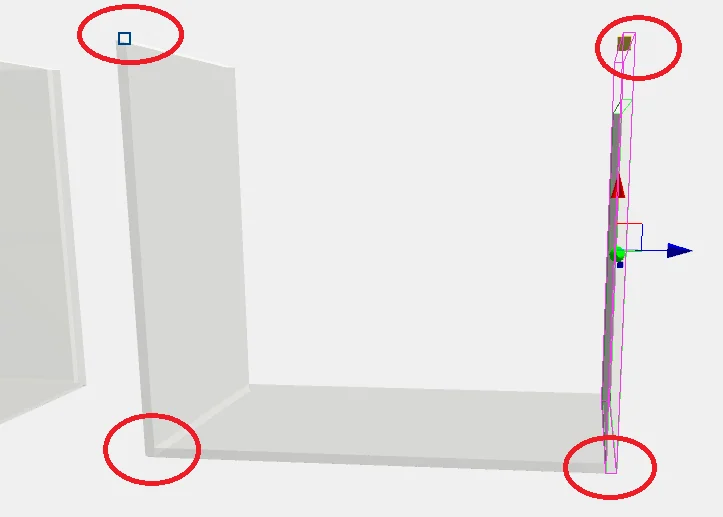
- Select a manual part to display the gizmo.
- Movement gizmos (toggled with `M`).
- Resize controls (toggled with `S`).
2. Resize Controls:
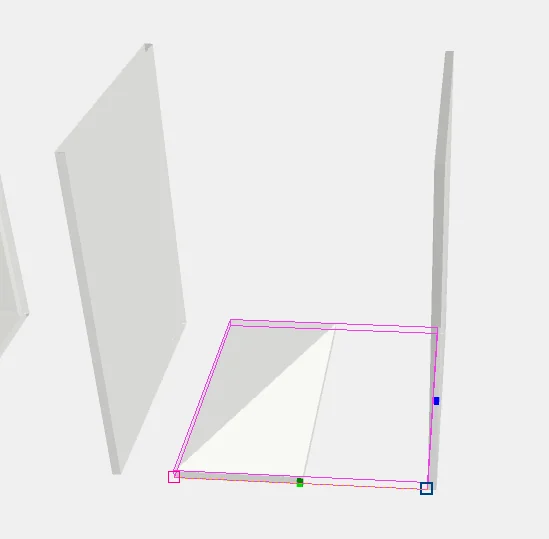
- Only two resize controls are available: at the base and at the height.
- You cannot resize from another vertex or use both controls at the same time.
Current Limitations
- This feature currently works only in 3D,
- Parts cannot be rotated with the gizmo.
- Do not use projections for resizing.
Machining
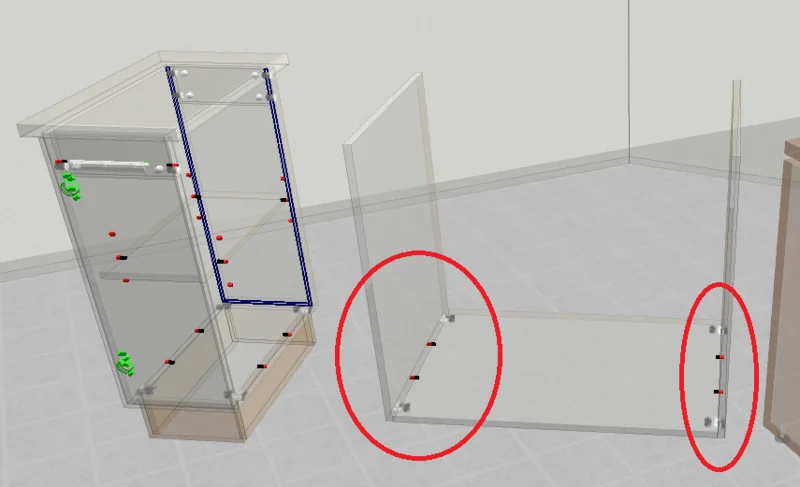
- Manual or modified parts inherit the machining operations of automatic parts.
- They support part-specific machining operations, but lose global operations if part-specific operations are added.
Integration with the Rest of the System
- Manual parts should behave like any other part in all system reports.
Conclusion
The manual editing module will provide greater flexibility and efficiency when completing projects, combining standard products with specific changes. This document is a guide to understanding and correctly applying the system’s new features.